
I have been wanting to try this project for awhile. Wall art made from paper towel rolls seems a little strange but ended up being really fun and pretty. I’ve seen lots of tutorials about how to do this but all involved using spray paint. But spray paint + kids = bad idea. So I created a tutorial that is kid friendly. It’s a great project for kid’s because they are making art and the art is also a decoration for their own rooms!
What you’ll need:
- Paper Towel Rolls
- Elmer’s Glue or hot glue gun
- Acrylic Paint
- Paint Brush
- Flower Center
- Panel Board Nails or any other long thin nails
- Hammer
- Scissors (make sure child is old enough to do this safely)
Before we begin make sure you have protected your project area with newspaper or plastic. Also make sure all kiddos are wearing their crafting attire.
Paper towel roll vs. toilet paper roll: honestly you can use either or both. The only difference is that you may have to peal off extra paper from a toilet paper roll before you begin painting.

Start by having your kiddos press down on the roll to flatten the tube.

Using scissors, cut the tube. The thickness of each petal is up to you, just be sure they are all the same.

Continue this step until you have enough pedals for your flowers. The amount of petals, again, is up to you. We ended up making 5 and 6 petal flowers.
Glue the bottom sides together. If you are using Elmer’s glue/kid’s glue, be sure to hold the rolls flat on the table so the weight of the pedals don’t pull them each apart. This is a great time to work on those counting skills. Let’s count to 20…….

After all your petals are glued together and have dried, begin painting the outside of each pedal.
**Side Note: I would suggest doing the painting before you glue them together because otherwise the paint smudges–I know this because we did the exact opposite and ended up smugging our petals over and over again**

After the outside is painted, do the same to the inside of each flower, making sure to paint the edge as well. Allow to dry. My kiddos wanted some grass, so we also glued sets of 3 together and painted it green to give it a grass look.

Once all of the petals are attached, glue your flower center in the center where all the petals meet. Allow to dry completely.

Hanging Your Flowers: Grown Up Assistance Needed
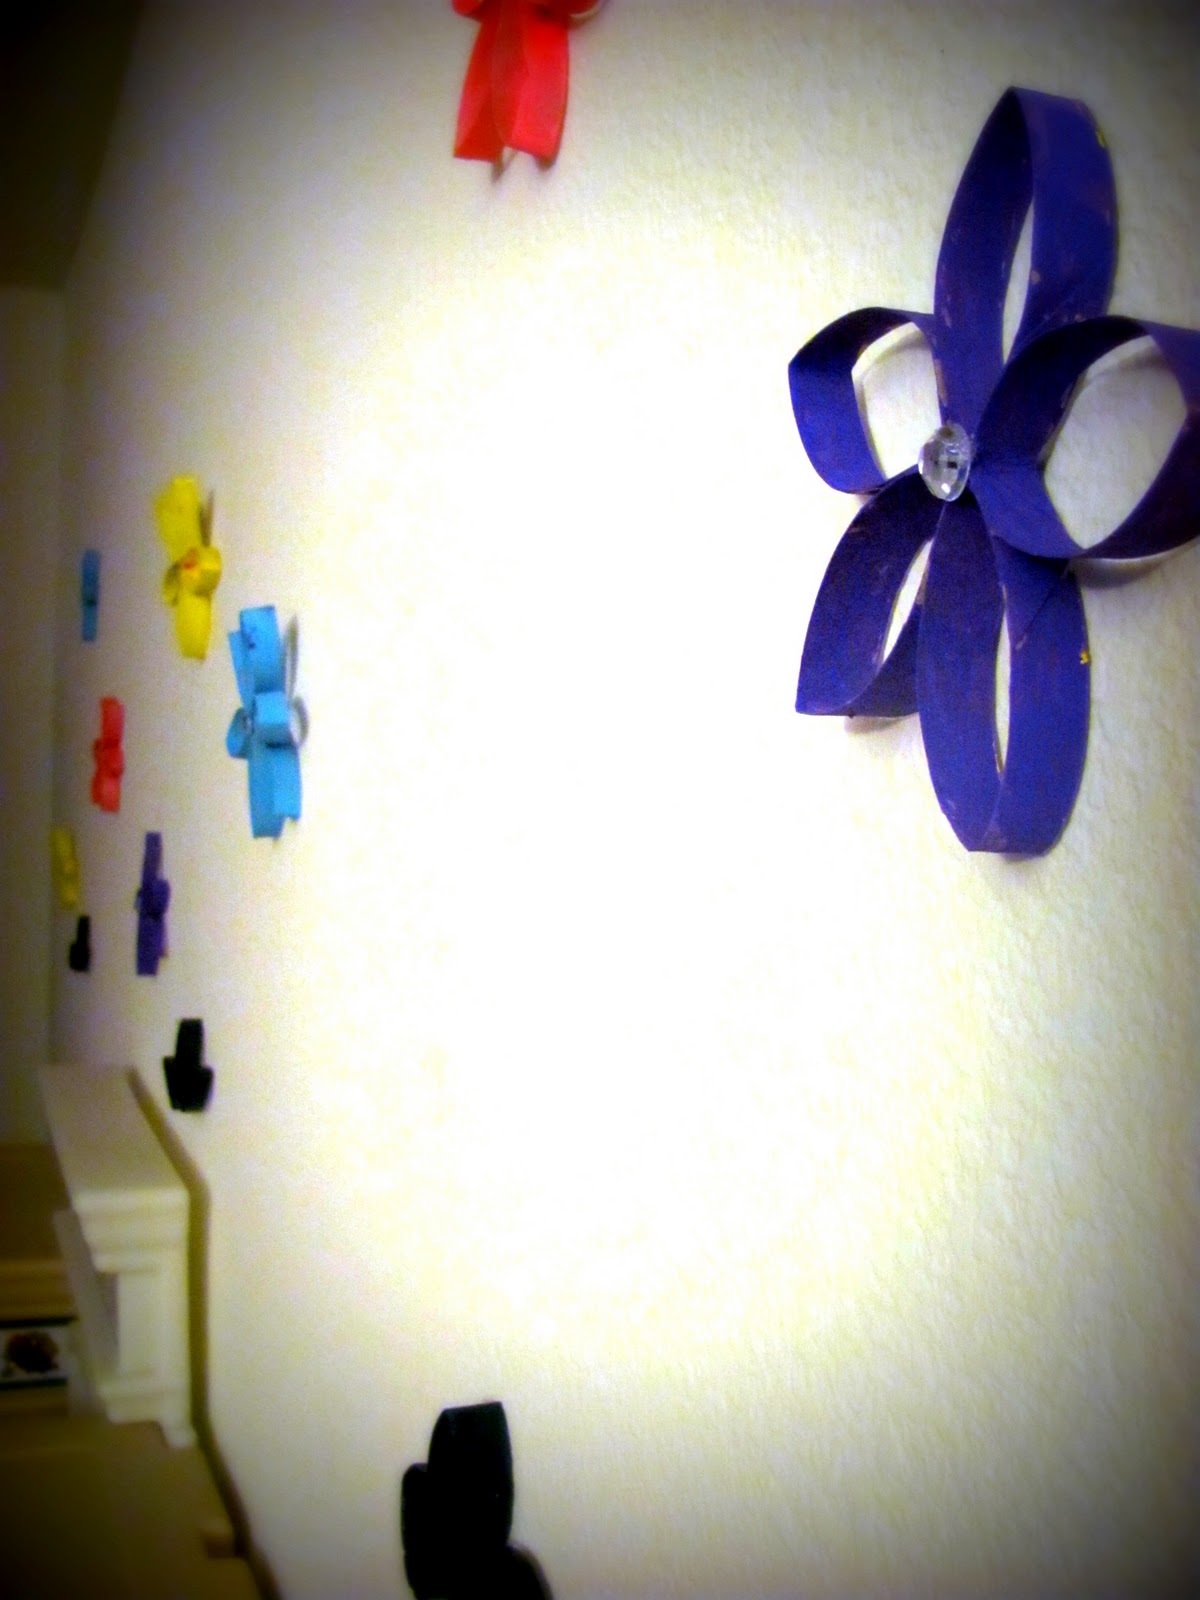
Decide how you want your design to look. Hammer your nails into place. Leave 1- 1 1/2″ of each nail sticking out. If you look at the back of each flower, you will see a space where the petals all meet that is open. That is where your nail will go. Gently slide the flower onto the nail.

Repeat until all your flowers are hanging up where you want them.
That’s it! This is a great project for kids to express themselves. As well as, guaranteed bragging rights.
Thanks for stopping by!

